While for some, marzipan sweets are the domain of Christmas time, for whatever reason, I always start yearning for marzipan around Easter time. It might be that the Spanish origin of these sweet little treats (mazapan originates from the stunning city of Toledo where the various monasteries still make bucket loads today) is the reason for my Spring-time yearning, as the summer grows closer and my desire to be back in the Spanish sunshine increases. Whatever the reason, this year I couldn’t even wait for Easter to get my ground almonds whizzing around my food processor. Easter falls unreasonably late this year after all, and being as it is almost April, I thought it was about time to get baking. But treats of this deliciousness deserve an occasion, so what better excuse than yesterday’s Mothering Sunday to make a few marzipan sweets as a treat for my mother.
As these photos show, I didn’t just stick to one type of marzipan. And I didn’t just stick with marzipan either, this year adding Yemes de Santa Teresa to my repertoire (egg-yolk sweets).


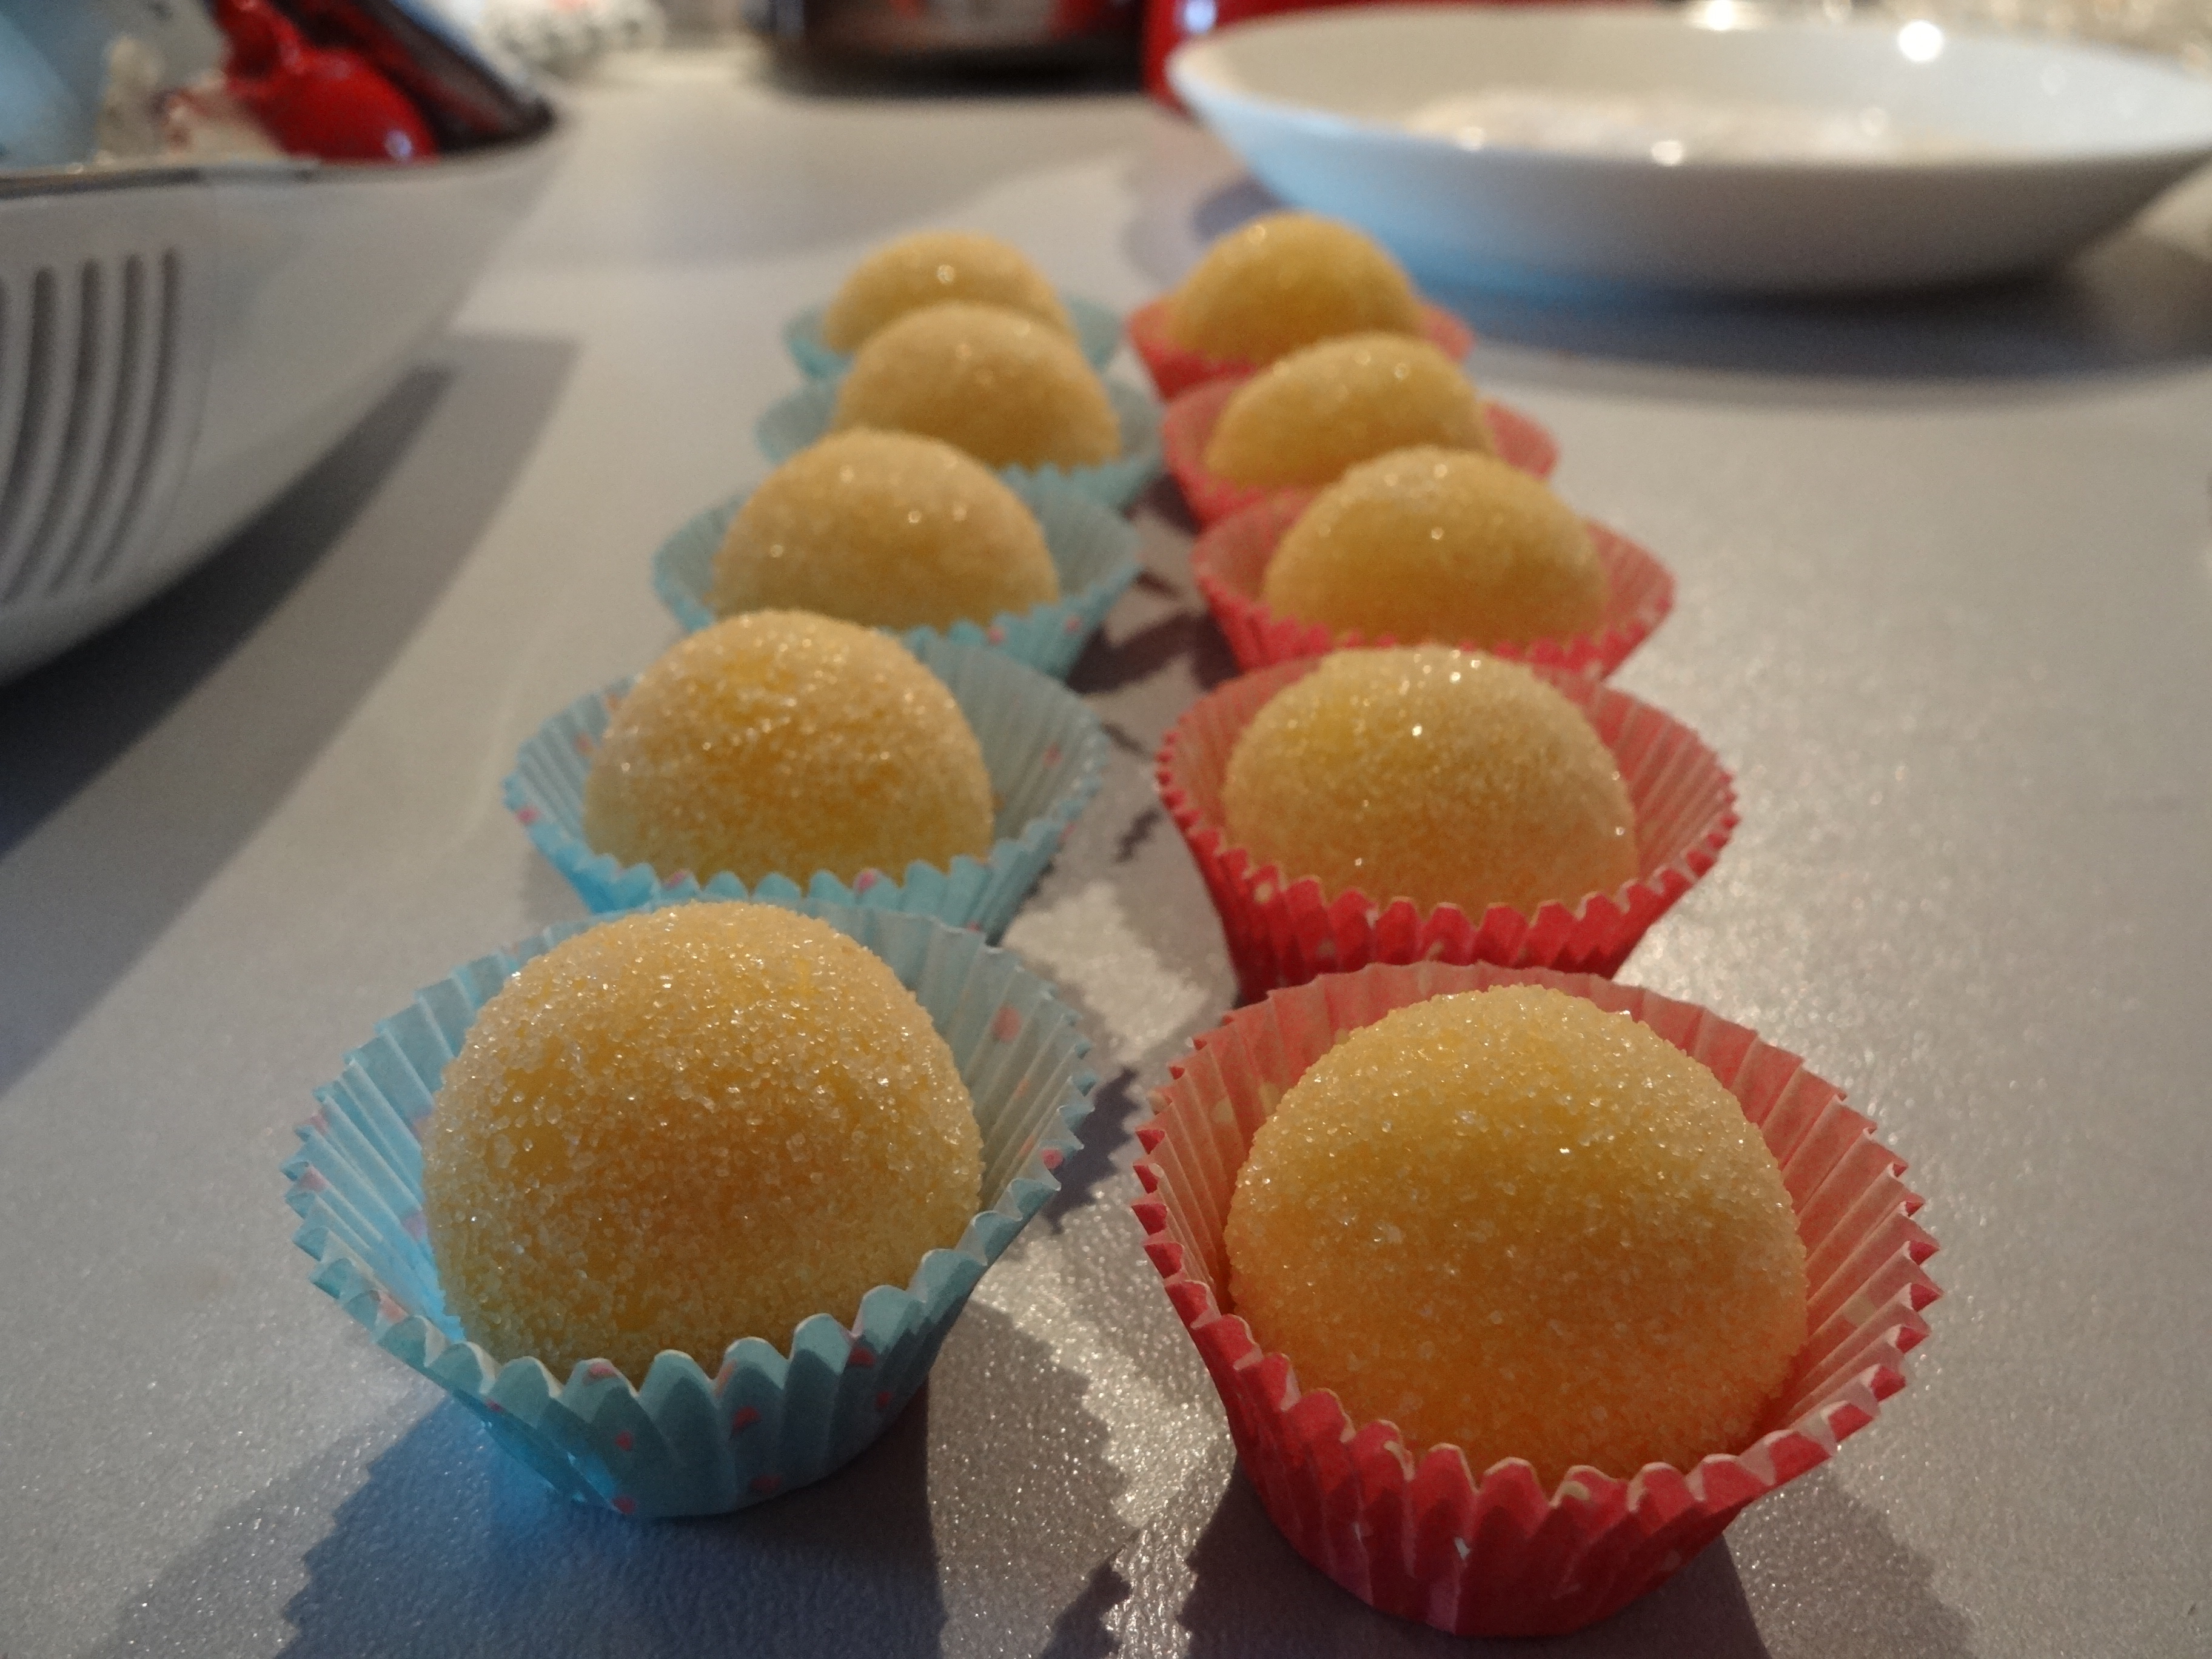
Yemas de Santa Teresa
My recipes for these sugary eggy treats are taken from The Food of Spain by Claudia Roden. To make, you need to bring 100g sugar and 4 tablespoons of water to boil before simmering for around 10 minutes until the syrup coats the back of a spoon. Leaving the syrup to one side to cool slightly, you then whist up 6 large egg yolks by hand, but vigorously, before gradually whisking this into the sugar syrup. This combination should then be returned to a low heat and stirred continuously with a wooden spoon until the mixture thickens to a paste and comes away from the sides of the pan. It’s a tedious exercise, taking around 10-20 minutes, but so worth it.
Place your paste in the fridge for at least 6 hours or overnight. Then, after the cooling period it’s simply a case of taking a small spoonful of the mixture, rolling up in your hands and then in some caster sugar to give that sweet sparkly finish. Place in little paper cases for that petit four effect.

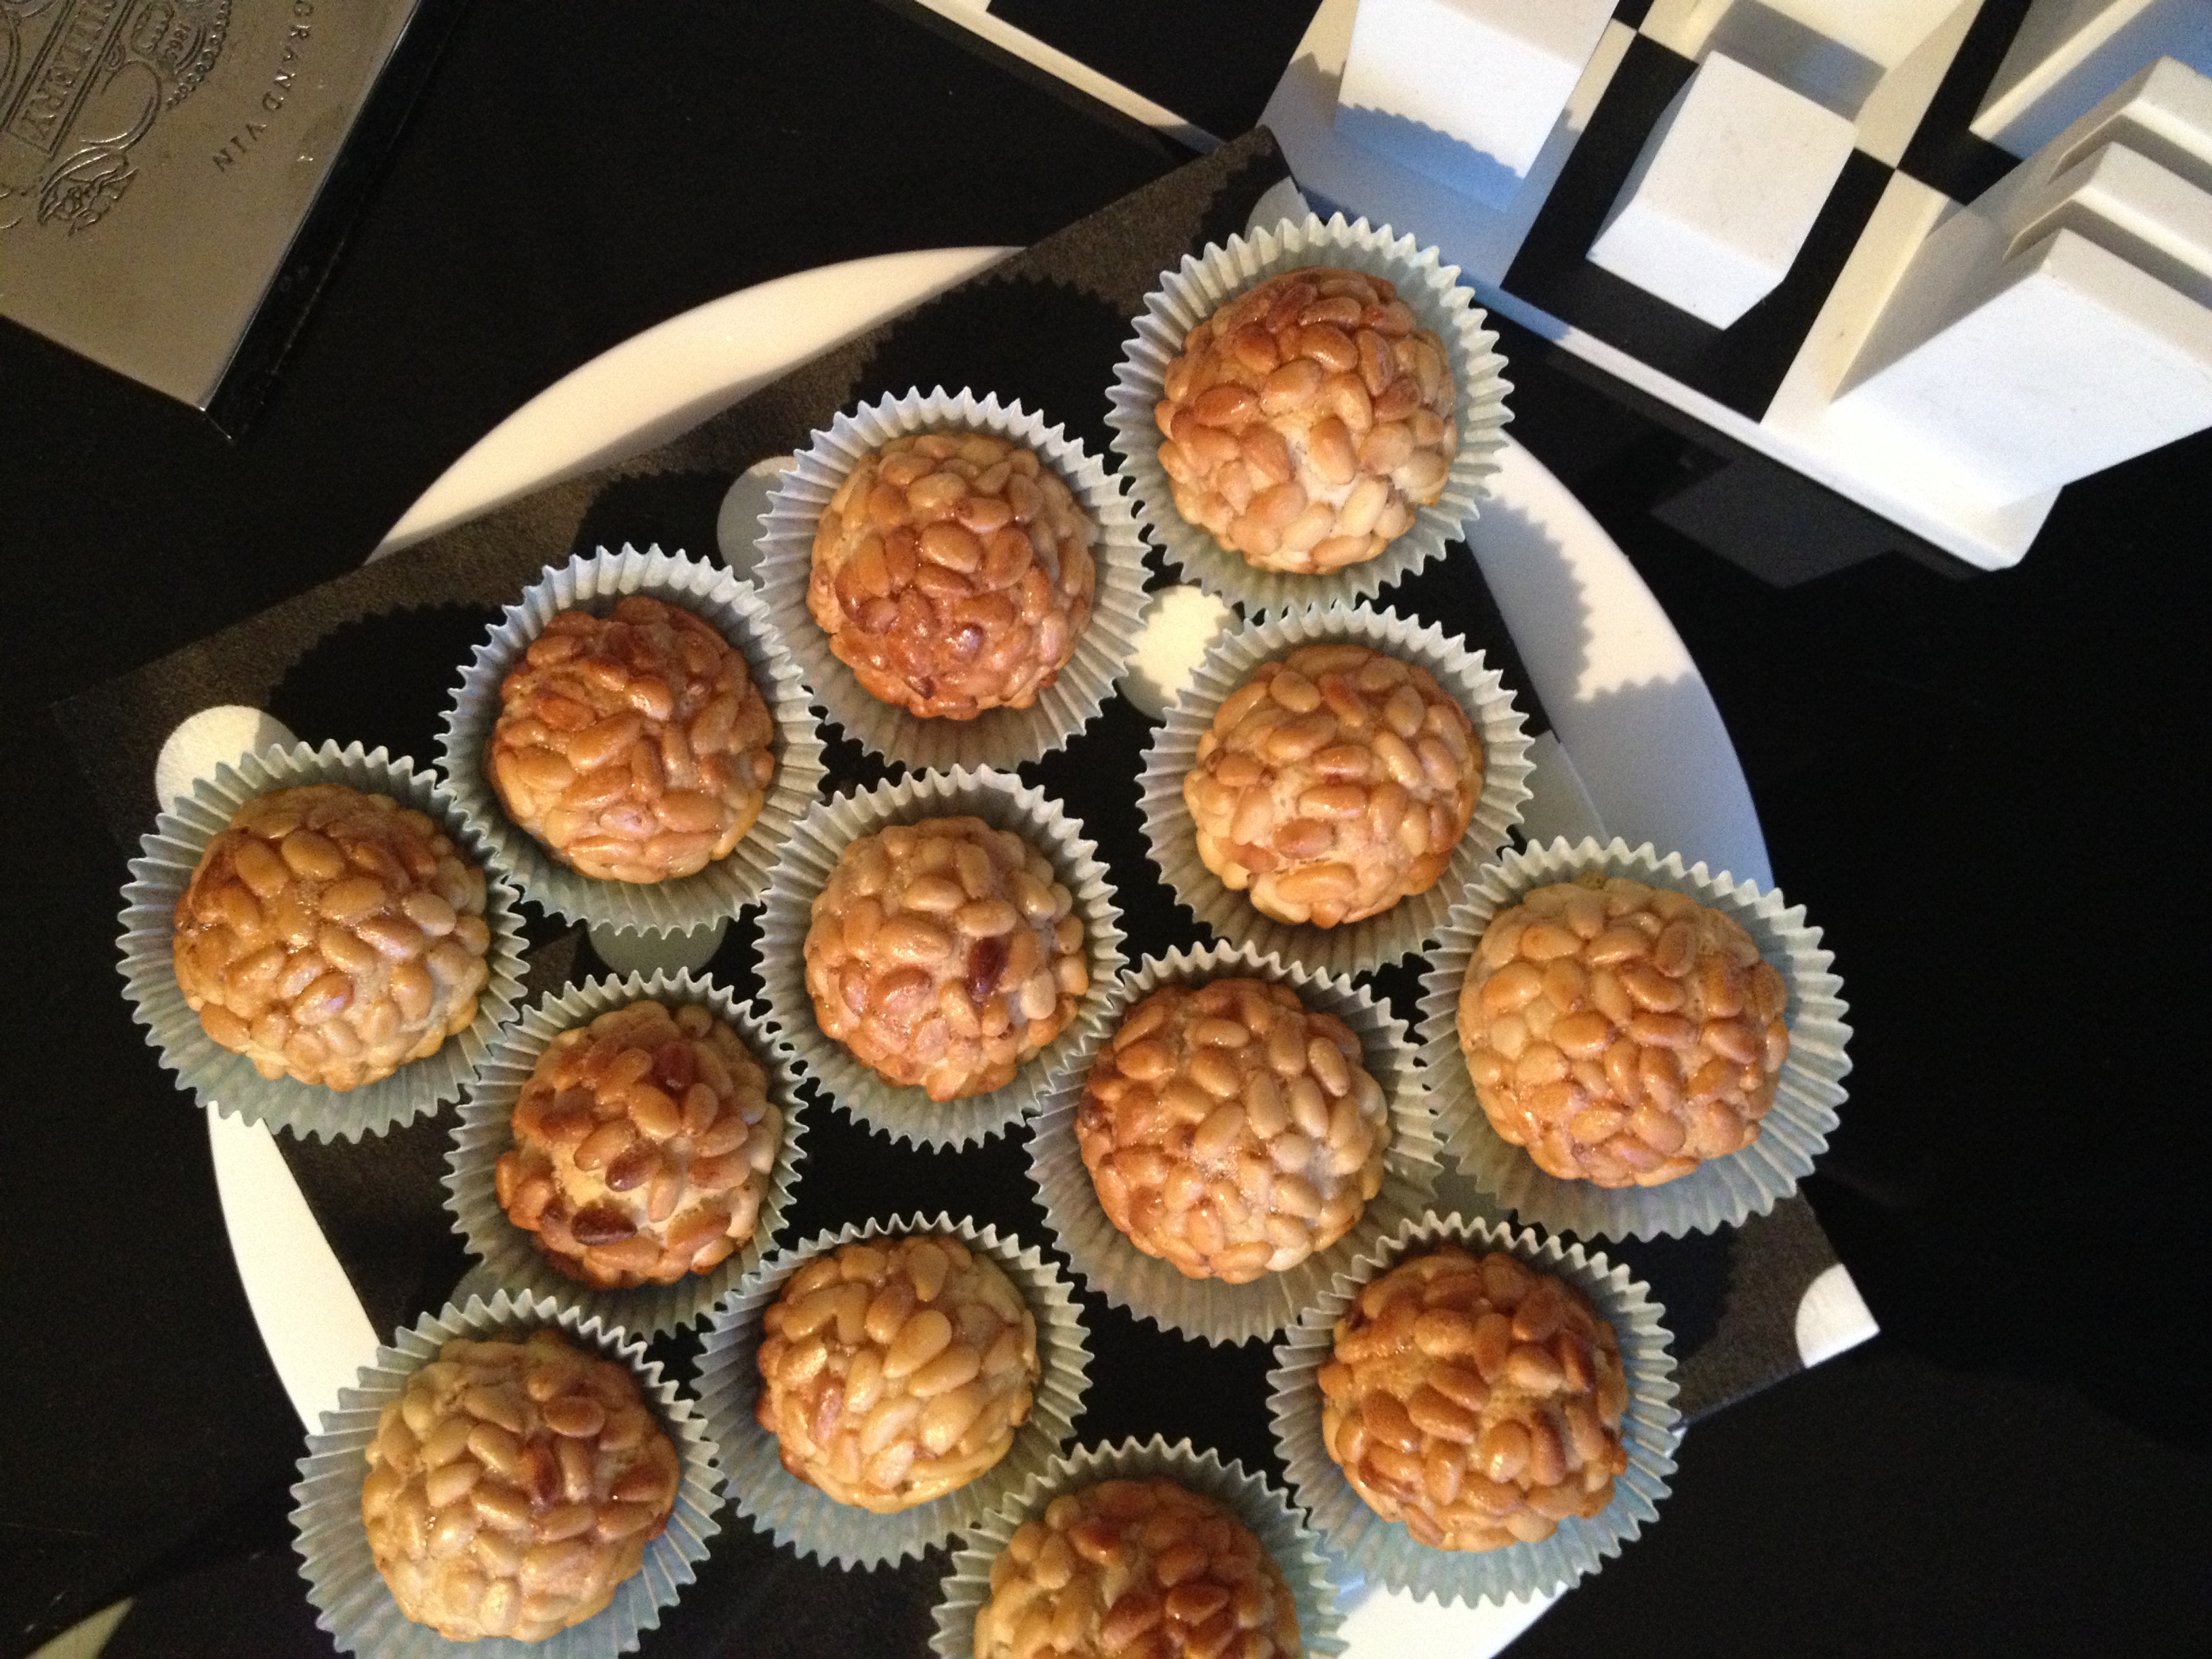
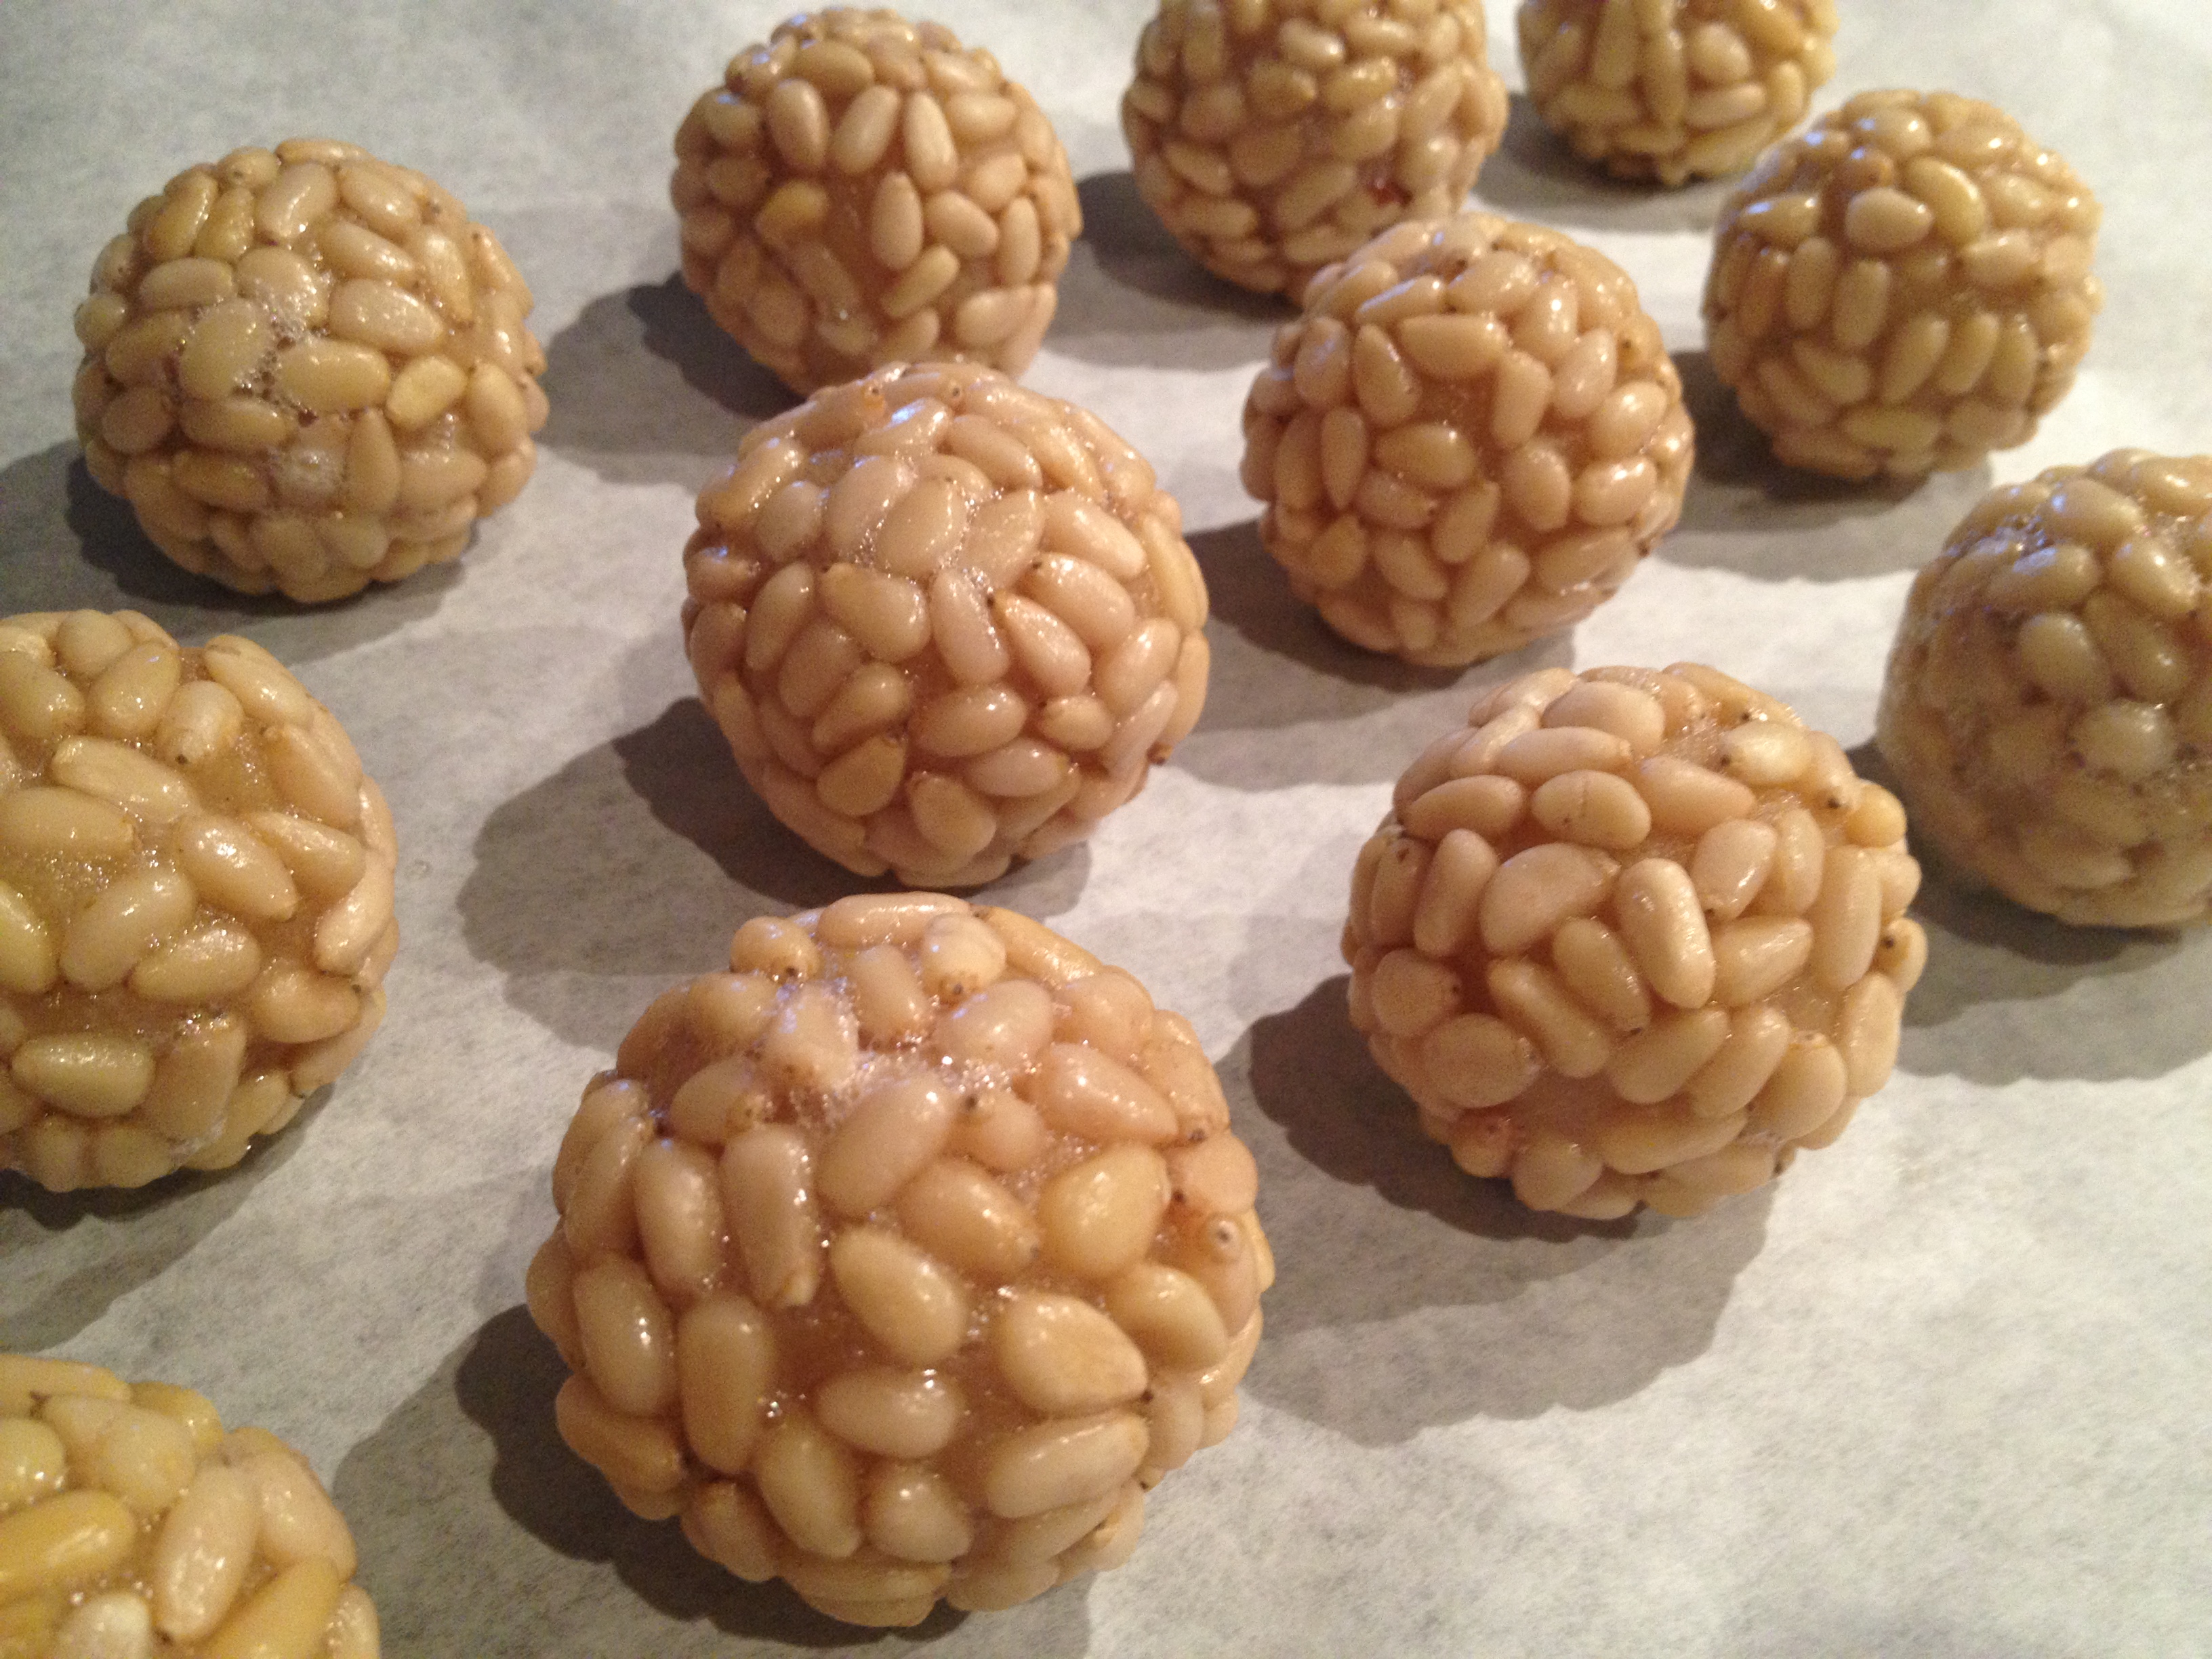
Panellets de piñones
The next lot of sweets to be taken from Claudia Roden’s book, and the first of my marzipan creations, are the pine-kernel covered marzipans, panellets de piñones. These panellets are a delicious, slightly more complex version of plain marzipans, but the method is similar. Whizz up 200g ground almonds with 150g caster sugar and the grated zest of 1 lemon, with 2.5 tablespoons of water. Plend for a few minutes until the almond oils start to really bind the paste. This should be refrigerated for around an hour before breaking into equal sized pieces and rolling into balls (I got around 16 at around 4 cm in diameter each). Then comes the tricky bit. Roll the balls in a lightly whisked egg white and then into a bowl of around 200g of pine nuts. Press as many as you can into the marzipan in the palms of your hands. But inevitably some with fall off so you’ll have to fill the gaps with the nuts by hand, pressing them in slightly. This is slightly time consuming and fiddly, but SO worth the effort. Once you have a complete “shell” of pine nuts, roll again in egg white and set out on a baking tray.
Once all your balls are all covered, pop them into an oven at 200C for 10 minutes until slightly golden. Once done, you’ll need to leave them to cool slightly before taking them off the tray, or they will quickly break apart.

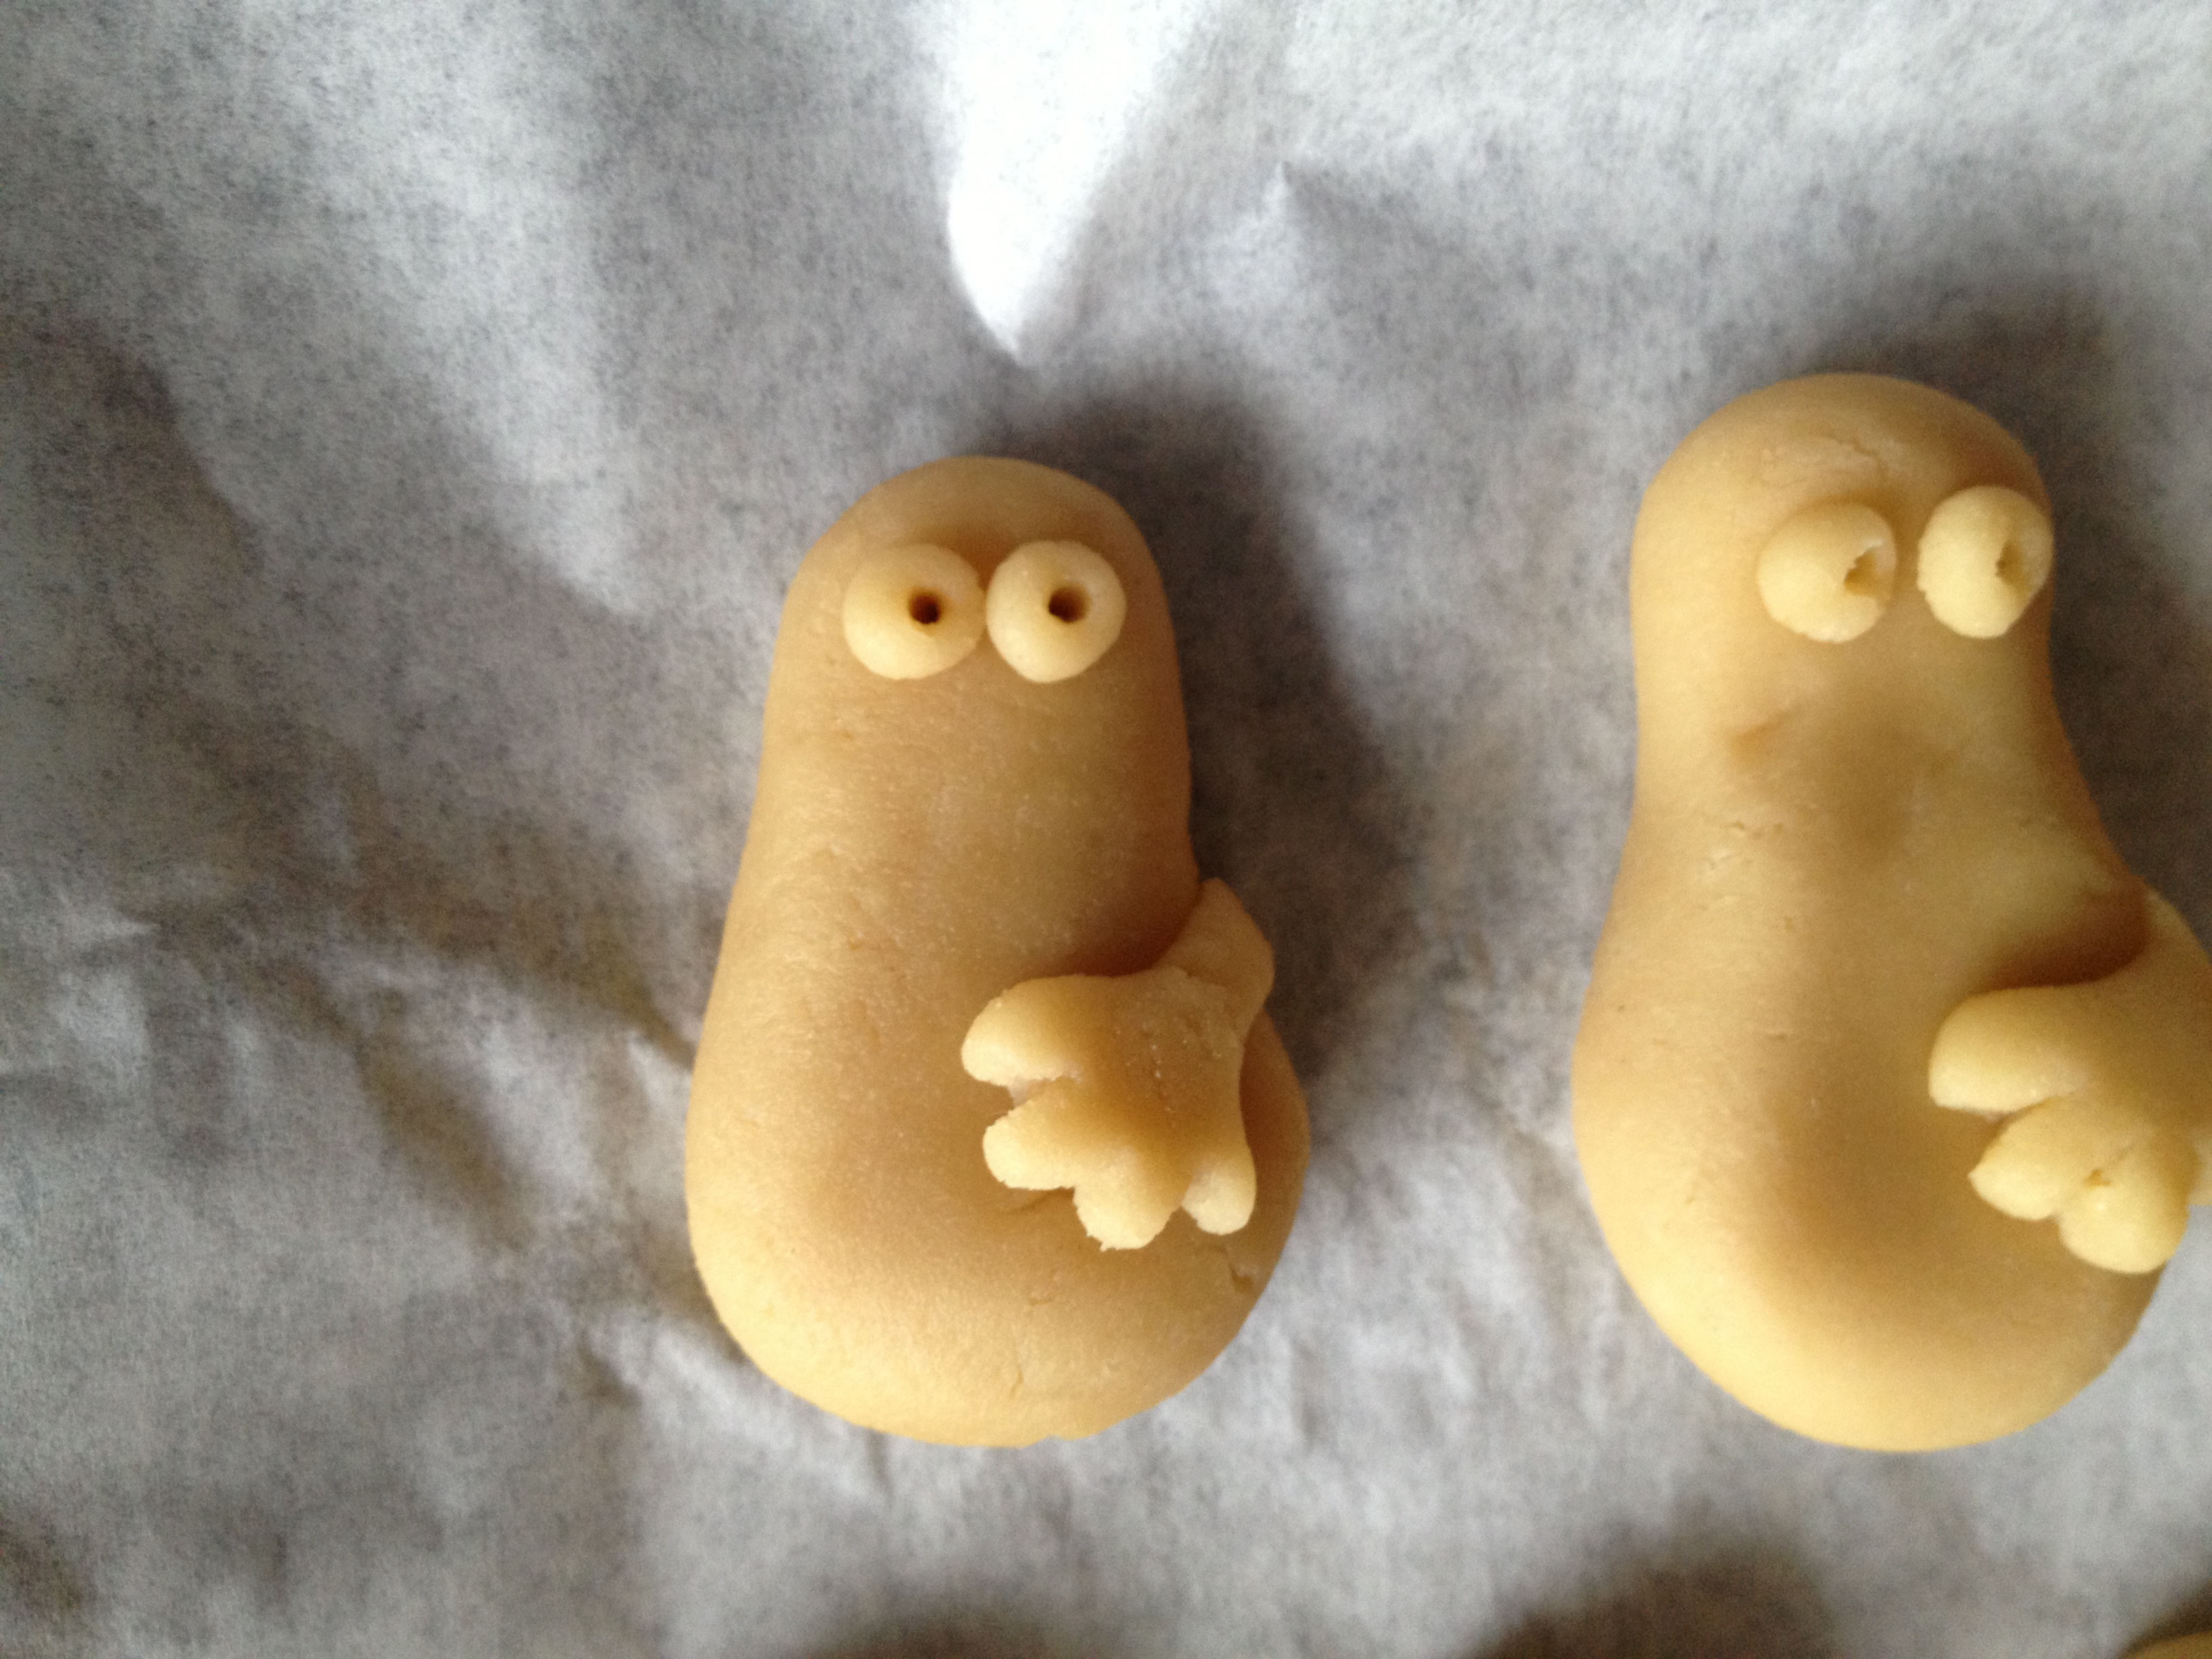
Catalan marzipans
While the traditional marzipan recipe tends to stick to almond as its basis, catalan marzipans often use sweet potato in addition to the almond. Intrigued to try this addition, I turned to the marzipan recipe by Sophie Ruggles in her book, My Barcelona Kitchen. I started by making a basic marzipan recipe: I peeled and chopped one large sweet potato, cooking it in boiling water until soft, and then mashed and cooled slightly. This was added to 350g of ground almonds, 250g caster sugar, and 1 egg and whisked up in the food processor. I then split the resulting paste into two batches, adding a tablespoon of cocoa powder to one lot to make a chocolatey marzipan, and a tablespoon of desiccated coconut to the other.
These mixtures, like the yemas paste above, were refrigerated for around 6 hours. I then rolled into balls, coating the coconut paste in more desiccated coconut before placing both lots of balls onto a lined baking tray and baking for around 30 minutes at 180C. Once cooled I finished off the chocolate balls by dusting with icing sugar.
The result of all this baking was a selection of very different sweets, but all with the subtle flavourings which characterise these traditional Spanish sweets. The sweet potato added an interesting textural variant and some subtle, natural sweetness. I particularly liked the chocolate marzipans which taste more like little chocolate cakes than traditional marzipan. All this shows that you can do lots with the basic marzipan recipe, whether rolling in nuts, in different flavoured sugars, into different shapes, or just leaving them plain. The marzipan is, as they say, your oyster.